29 Jul 2026
How to Install Google Tag Manager on WordPress
Installing Google Tag Manager on WordPress simplifies how you manage tracking scripts and marketing tags. This guide explains how to set up GTM correctly so you can implement and control tracking without ongoing code changes.
Guide
Goal: To install Google Tag Manager on a WordPress website.
Ideal Outcome: Google Tag Manager is installed correctly and runs without any technical issues.
Prerequisites or requirements: This process applies only to self-hosted WordPress.org websites.
Why this is important: Google Tag Manager makes it easy to add and manage multiple tracking pixels and scripts without repeatedly editing your website’s code.
Where this is done: Within your WordPress installation and Google Tag Manager.
When this is done: Only once, when Google Tag Manager is first set up.
Who does this: The person responsible for website management or analytics.
Environment setup
Important: This SOP applies only to self-hosted WordPress sites (WordPress.org), not WordPress.com.
Download the Google Tag Assistant Companion (free).
Note: As of October 2023, the Google Tag Assistant Legacy Chrome extension has been discontinued.
Sign up for Google Tag Manager (free).
Log in using your Google account.
If this is your first time creating a Google Tag Manager account, you will be redirected to the account creation page.
Fill in the following information:
- Account Name – The name used to identify the account
- Country – Select your country
- Container Name – Enter your website URL
- Target Platform – Select where Google Tag Manager will be installed (for example, Website)
- (Optional) Choose whether to share anonymous data with Google
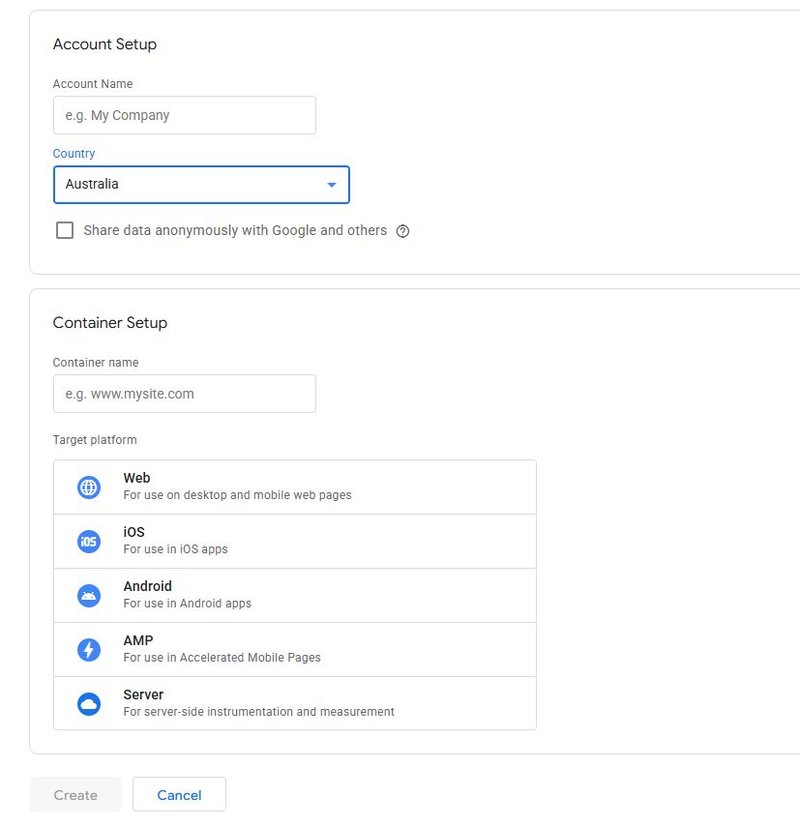
Click Create.
Accept the Google Tag Manager Terms of Service by selecting the checkbox and clicking Yes.
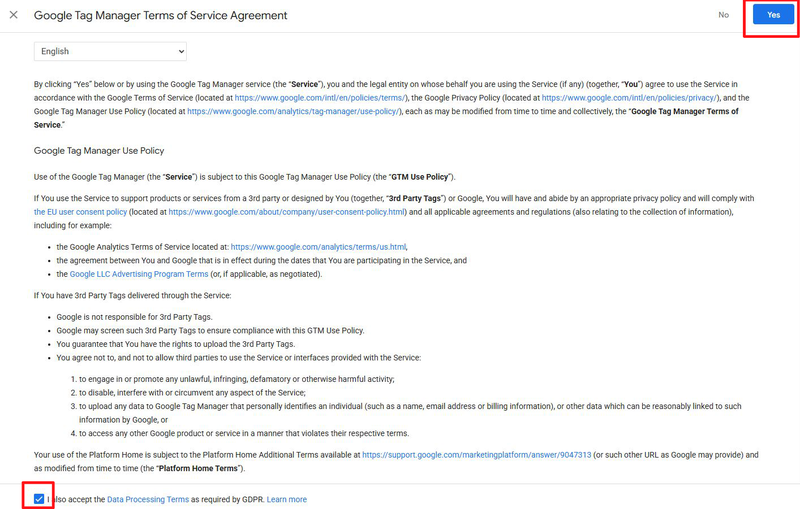
You will then see the Google Tag Manager installation code. Ignore this code as it will not be added manually. Click OK.
Once inside your Workspace, record your Google Tag Manager ID.
Click Submit → Publish → Continue to publish your container.
Install and configure the Google Tag Manager WordPress plugin
Log in to your WordPress website.
From the WordPress dashboard sidebar, navigate to Plugins → Add New.
Search for Google Tag Manager for WordPress.
Install the GTM4WP plugin (the plugin image may vary).

Activate the plugin.
Go to Settings → Google Tag Manager.
Paste your Google Tag Manager ID (from your Google Tag Manager dashboard) into the available field.
Choose your installation method
Before proceeding, it is strongly recommended that you create a backup of your website.
Option 1: Off (Automatic placement)
With this option, the plugin automatically determines where to place the container code. This is the easiest option but carries a small risk of front-end issues.
Select this option and click Save Changes.
Open your website in a new tab and confirm everything displays correctly. If there are no issues, proceed to quality assurance.
Option 2: Manually coded
This option requires editing your theme files. Only use this method if you are comfortable working with theme files.
Select Custom (needs a tweak in your template) as the container placement and click Save Changes.
Copy the PHP code generated by the plugin.
Navigate to Appearance → Theme Editor in WordPress.
Confirm you are editing your active theme (check under Appearance → Themes).
Select the Theme Header file from the file list.
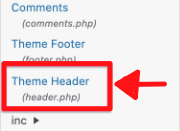
The exact layout of this file may vary depending on your theme. Locate the opening <body> tag.
Paste the copied PHP code directly below the opening <body> tag.
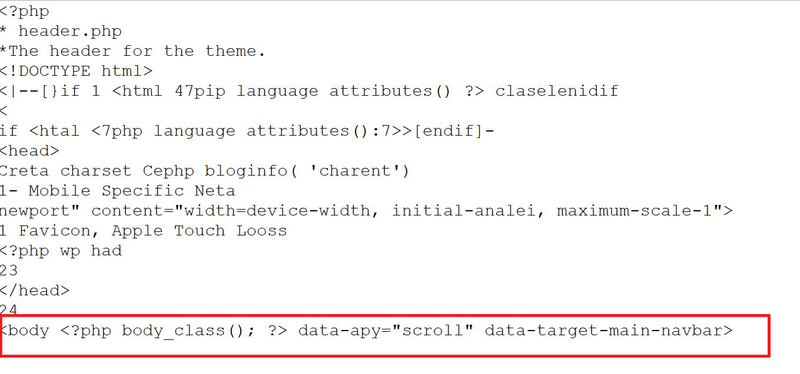
Click Update File.
QA your installation
Open your website homepage using Google Chrome.
Click the Google Tag Assistant Companion extension.

Click Add domain.
Enter your website URL and click Connect.
Confirm that Tag Assistant connects successfully. You should see a connection confirmation pop-up on your website.
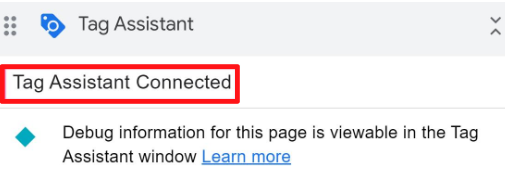
If connection issues occur, refer to Google Tag Assistant troubleshooting resources.
Google Tag Manager is now successfully installed and ready for use.