26 Jun 2026
How to Create a Canva Brand Kit
Creating a Canva brand kit centralises your brand assets, making it easy to maintain consistency across all marketing materials. This guide covers step-by-step setup, best practices and tips for optimising your kit for professional, on-brand content.
Guide
- Why a Canva Brand Kit is Necessary
- Step 1: Sign In and Access Canva Brand Kit
- Step 2: Add Your Brand Colours
- Step 3: Add Your Brand Fonts
- Step 4: Upload Your Logos
- Step 5: Set Brand Templates
- Step 6: Share Your Brand Kit
- Step 7: Use Your Brand Kit Across Designs
- Step 8: Update and Maintain Your Brand Kit
- Best Practices for Canva Brand Kits
- Common Mistakes to Avoid
- Build a Strong Brand with Canva
A Canva Brand Kit centralises your colours, fonts, logos, and templates in one place so your team can create on-brand graphics fast. For marketers, designers, and business owners, a well-organised brand kit ensures every piece of content reinforces your brand identity, saves time, and maintains consistency across all platforms.
This guide provides a step-by-step approach to creating a Canva brand kit, covering setup, customisation, usage tips, and best practices to ensure your brand looks professional and cohesive.
Why a Canva Brand Kit is Necessary
A brand kit acts as the central hub for all your visual assets. Its benefits include:
- Consistency: Ensures all marketing materials use the correct colours, fonts, and logos
- Efficiency: Teams can access brand assets quickly without searching for files
- Professionalism: On-brand visuals enhance credibility and recognition
- Collaboration: Share your kit with team members or external designers for unified content creation
Beyond visual appeal, a brand kit also streamlines workflow. Teams don’t waste time looking for the right font or logo variant, and external collaborators can produce content that aligns perfectly with your brand. Using Canva alongside guidance from a marketing consultant or a marketing strategist can help define your brand identity before creating the kit, ensuring your assets reflect your business values and messaging.
Step 1: Sign In and Access Canva Brand Kit
- Log in to your Canva account. A Canva Pro subscription is required to access full brand kit features.
- Navigate to Brand Kit from the left-hand menu on your dashboard.
- Click Create Brand Kit if it’s your first time setting up.
The Brand Kit interface provides options to manage colours, fonts, logos, and templates in one central location, making it easy to maintain brand cohesion across all projects.
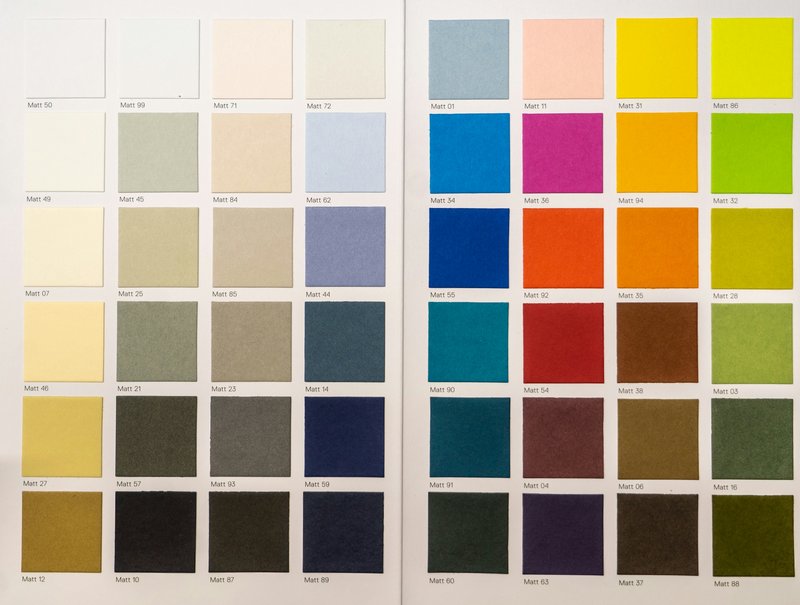
Step 2: Add Your Brand Colours
Colours are a critical part of your visual identity and play a huge role in recognition. To add brand colours:
- Click + Add Brand Colours.
- Enter your hex codes or select colours from the palette.
- Include primary, secondary, and accent colours for flexibility across designs.
For example, a business may use a bold colour for headings (primary), a muted colour for backgrounds (secondary), and a bright accent for call-to-action buttons. A clearly defined colour palette ensures consistency in social posts, presentations, marketing materials, and even emails. If needed, a freelance marketer or designer can help select colours that align with your brand personality and resonate with your target audience.
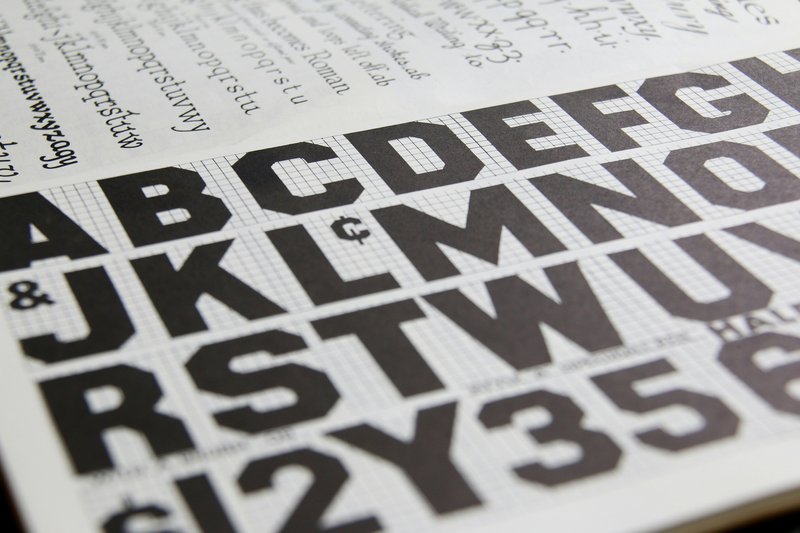
Step 3: Add Your Brand Fonts
Typography reinforces your brand’s personality and tone. To add fonts:
- Click + Upload a Font or select from Canva’s font library.
- Define heading, subheading, and body fonts for consistency.
- Ensure fonts are readable and suitable for both digital and print use.
Choosing the right fonts ensures your messaging is clear and reflects your brand identity. For instance, a modern tech brand may choose clean sans-serif fonts, while a luxury brand may prefer elegant serif fonts. Using the right fonts enhances readability and strengthens brand recognition across campaigns.
Step 4: Upload Your Logos
Logos are central to brand identity. To upload:
- Click + Upload Logo.
- Add multiple versions if available (full logo, icon, horizontal, vertical).
- Keep files in high resolution and compatible formats for Canva use.
Having logos ready in your brand kit saves time when creating social posts, presentations, email banners, and marketing collateral. Consider including watermark versions of your logo for branding materials that require subtle branding.
Step 5: Set Brand Templates
Canva allows you to create templates for social media, presentations, emails, or documents:
- Pre-set Templates: Use templates aligned with your brand colours, fonts, and logos
- Custom Templates: Save commonly used layouts for easy reuse
- Team Access: Share templates with team members or external designers
Templates streamline content creation and ensure all materials are on-brand. For example, a weekly social media post template ensures your posts are consistent in format and style while allowing your team to focus on content.
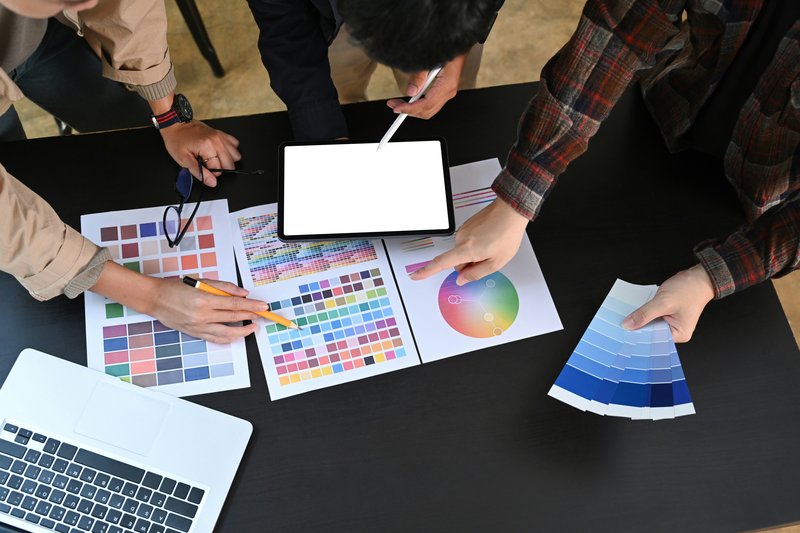
Step 6: Share Your Brand Kit
A key benefit of Canva brand kits is collaboration:
- Invite team members or a fractional designer to access the kit
- Control permissions for editing and using brand assets
- Keep all stakeholders aligned on brand guidelines
Sharing your kit ensures everyone creating content uses the correct assets, saving time and preventing off-brand materials. This is especially valuable for businesses with multiple designers or marketing teams working remotely.
Step 7: Use Your Brand Kit Across Designs
Once your kit is set up, it can be applied directly to designs:
- Apply brand colours with a single click
- Use pre-set fonts consistently across projects
- Insert logos into social posts, presentations, or marketing assets
This integration improves efficiency and ensures visual consistency across all channels. Canva’s drag-and-drop functionality makes applying brand elements effortless, even for non-designers.
Step 8: Update and Maintain Your Brand Kit
Your brand identity may evolve. Best practices for maintaining your Canva brand kit include:
- Update colours, fonts, or logos when rebranding
- Add new templates or graphics as needed
- Remove outdated assets to prevent confusion
- Review periodically to ensure alignment with your marketing strategy
Regular updates ensure your brand kit stays relevant and useful for your team. Brands that update their kits consistently maintain stronger visual consistency and avoid off-brand content creeping into campaigns.
Best Practices for Canva Brand Kits
- Keep your colour palette simple and versatile
- Choose fonts that reflect your brand personality but remain legible
- Upload high-quality logos in multiple formats
- Create templates for frequently used content types
- Share your kit with all team members and external collaborators
Following these practices ensures your brand kit becomes a valuable resource for consistent, professional content.
Common Mistakes to Avoid
- Using inconsistent colour codes or multiple font families
- Uploading low-quality or outdated logos
- Not sharing the kit with relevant team members
- Ignoring template creation, which can slow down content production
- Failing to review and update assets regularly
Avoiding these mistakes helps your team maintain a professional, cohesive visual identity while reducing errors and wasted time.
Build a Strong Brand with Canva
Creating a Canva brand kit centralises your visual assets, improves efficiency, and ensures every design aligns with your brand identity. By setting up colours, fonts, logos, and templates, and maintaining them over time, your team can consistently produce professional content.
Hire a Fractional Designer who can set up your Canva brand kit, optimise it for efficiency, and maintain consistency across all marketing materials, ensuring your brand always looks professional and cohesive.