
Goal: To determine which of your website’s pages should be indexed, deindexed, redirected, or canonicalised, and to correctly implement each action.
Ideal Outcome: Your website’s URL profile is cleaned up so that only high-quality, relevant pages are indexed, and duplicate content issues are resolved.
Prerequisites or requirements:
- This procedure applies exclusively to fully configured WordPress.org websites.
- The Yoast SEO plugin must be installed and active.
- This SOP is intended for small to medium-sized websites (generally up to a few hundred URLs).
- Large-scale enterprise websites require a more advanced audit process, which is outside the scope of this SOP.
Why this is important:
A structured URL audit improves crawl-path optimisation. Proper indexing ensures that:
- Search engines focus on your most valuable pages.
- Low-quality or outdated pages do not dilute your site authority.
- Duplicate content issues are minimised.
- Your site presents a professional and up-to-date image in search results.
Where this is done:
- Your web browser
- WordPress.org admin dashboard
- Google Sheets
- Export All URLs plugin
- Redirection plugin
When this is done:
- Ideally before launching a new website.
- During SEO optimisation projects.
- When performing periodic technical SEO audits.
Who does this:
- SEO specialist
- Digital marketing manager
- Virtual assistant (with SEO guidance)
- Digital marketing agency
Find All URLs on Your Website
The first step in the URL audit process is extracting every URL from your website.
Follow these steps:
- Download the Export All URLs plugin (ZIP file).
- Go to WordPress Admin → Plugins → Add New → Upload Plugin.
- Upload the ZIP file.
- Click “Install Now”.
- Click “Activate”.
Next:
- Go to Tools → Export All URLs.
- Select:
- “All Types”
- “URLs”
- “CSV”
- Click “Export”.
- Click “Download Now”.
- Save the CSV file to your computer.
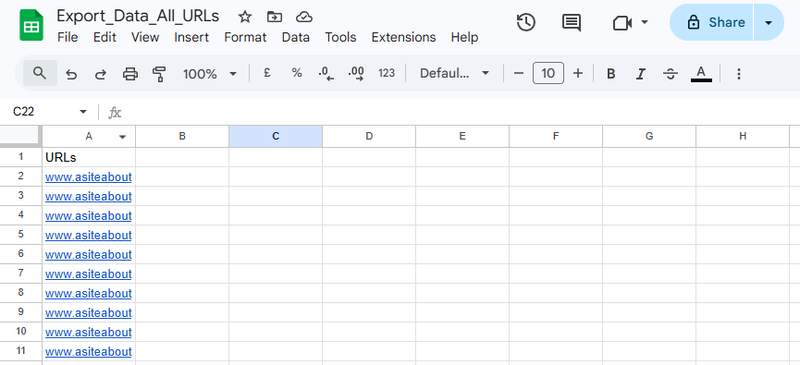
- Rename it appropriately (for example: Exported_Data_All_URLs).
Classify the URLs
The classification stage is critical and should not be skipped. Depending on the size of your website, this process may take time.
Step 1: Import URLs into Google Sheets
- Open Google Sheets.
- Go to File → Open → Upload your CSV file.
- Copy the list of URLs.
Step 2: Prepare Your Audit Sheet
- Open the “URL Audit Worksheet”.
- Make a copy in your Google Drive.
- Add a new sheet and name it “Unclassified URLs”.
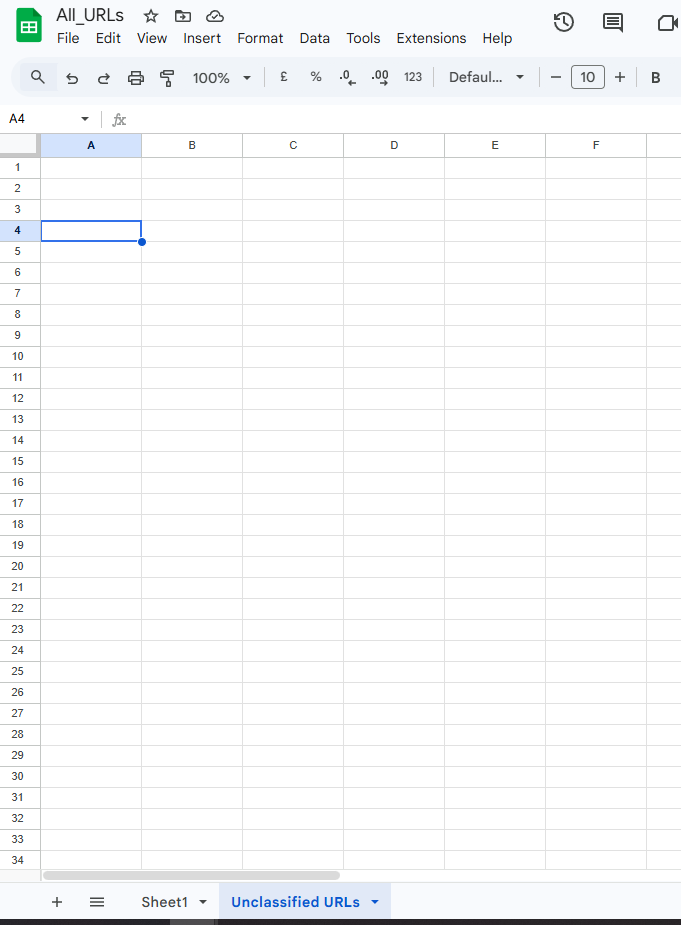
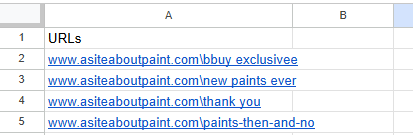
- Paste the exported URLs into this sheet.
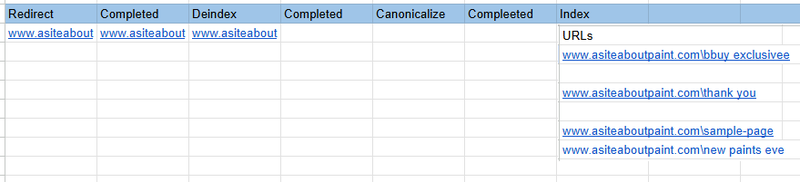
Step 3: Classify Each URL
For each URL in the “Unclassified URLs” sheet, move it into the appropriate column in the “Classified URLs” sheet based on the following decision framework.
Question 1: Is the content still relevant to users?
For example:
- Old seasonal landing pages (e.g., EOFY Sale 2022).
- Outdated announcements.
If NO:
- Move the URL to the “Redirect” column.
- Proceed to the next URL.
If YES:
- Continue to Question 2.
Question 2: Should this page appear in search engines?
Examples of pages that typically should not be indexed:
- Thank You pages
- Checkout pages
- Member-only pages
- Internal admin resources
If NO:
- Move the URL to the “Deindex” column.
- Proceed to the next URL.
If YES:
- Continue to Question 3.

Question 3: Is this page substantially similar (50% or more) to another page on your website?
Examples:
- Two landing pages created for the same paid campaign.
- Duplicate service pages targeting the same keywords.
If NO:
- Move the URL to the “Index” column.
- Proceed to the next URL.
If YES:
- Continue to Question 4.
Question 4: Is this page the original (canonical) version?
If NO:
- Move the URL to the “Canonicalise” column.
If YES:
- Move the URL to the “Index” column.
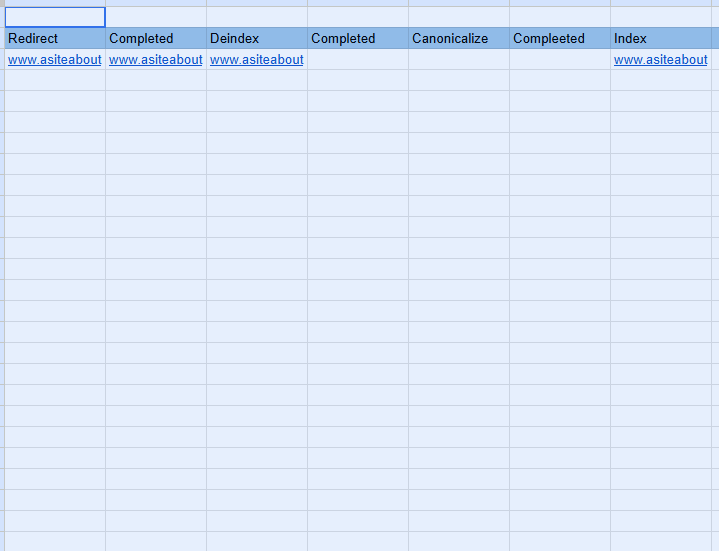
Once classification is complete:
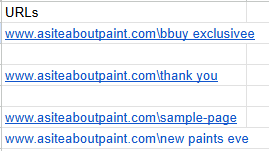
- Select all cells (CTRL + A).
- Click “Wrap Text” to improve visibility and formatting.
Take Action on Each Category
Once your “Classified URLs” sheet is completed, implement the relevant actions in WordPress.
Redirect URLs
Install and activate the Redirection plugin.
To implement redirects:
- Go to Tools → Redirection.
- Enter the source URL (from the “Redirect” column).
- Enter the target URL (the most relevant replacement page).
- Click “Add Redirect”.
- Mark the URL as completed in your worksheet.
Best practice:
- Redirect to the most relevant equivalent page.
- Avoid redirect chains.
- Avoid redirecting everything to the homepage unless absolutely necessary.
De-index URLs
For each URL in the “Deindex” column:
- Open the page or post in WordPress.
- Scroll to the Yoast SEO section.
- Click “Advanced”.
- Under “Meta robots index”, select “noindex”.
- Update or publish the page.
- Mark as completed in your worksheet.
Index URLs
For each URL in the “Index” column:
- Open the page or post editor.
- Scroll to Yoast SEO.
- Click “Advanced”.
- Under “Meta robots index”, select “index”.
- Update or publish.
- Mark as completed in your worksheet.
Canonicalise URLs
For each URL in the “Canonicalise” column:
- Open the page or post editor.
- Scroll to the Yoast SEO section.
- Click “Advanced”.
- Under “Canonical URL”, enter the URL of the original (canonical) page.
- Update or publish.
- Mark as completed in your worksheet.
Final Outcome
Once all actions are implemented:
- Only high-quality, relevant pages remain indexed.
- Duplicate content is properly consolidated.
- Crawl efficiency is improved.
- Your website presents a cleaner, more authoritative profile to Google and other search engines.
Your site is now structurally optimised for search engine visibility and long-term SEO performance.