Goal: To track your Pinterest Ads conversions directly within the Pinterest platform.
Ideal Outcome: You can accurately see how many conversions your Pinterest Ads campaigns have generated and understand their associated value.
Prerequisites or requirements:
- Google Tag Manager must already be installed and running on your website.
Why this is important:
Understanding how many conversions and how much revenue each campaign generates enables you to:
- Optimise campaigns based on performance.
- Allocate budget more effectively.
- Improve return on ad spend.
- Scale profitable campaigns with confidence.
Where this is done:
- Google Tag Manager
- Pinterest Ads Manager
When this is done:
- When launching a new website.
- When introducing a new conversion event.
- When additional campaign tracking is required.
Who does this:
- Analytics specialist
- Paid advertising specialist
- Digital marketing manager
Environment Setup
Install the Pinterest Tag Helper Chrome Extension before beginning.

Install the Base Code
Log in to your Pinterest Ads account.
Navigate to:
Ads → Conversions → Install the Tag
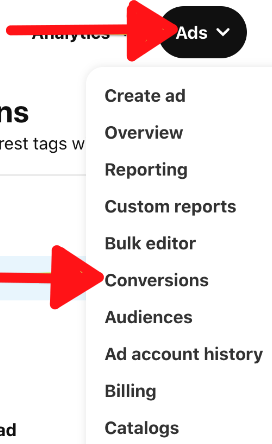
Select “Add code using a Partner Integration”.

Select “Google Tag Manager” and click “Continue”.

Important note:
- If you are using another partner platform listed in the integration menu, it may be preferable to use that native integration instead of this SOP.
- For Shopify-based eCommerce stores, native Shopify integration is recommended, as it typically provides deeper integration and enhanced tracking accuracy.
Select the Google Account that has access to the relevant Google Tag Manager account.
Allow Pinterest to access your Google Tag Manager account.
Select:
- The correct Google Tag Manager account.
- The container currently installed on your website.
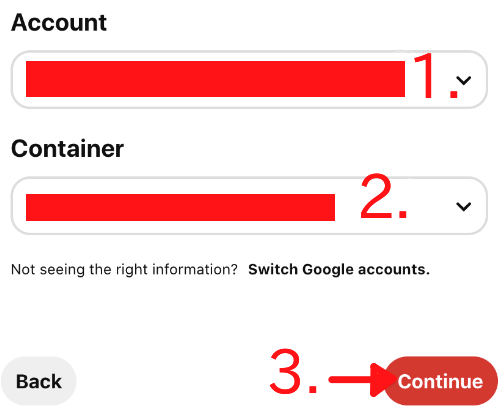
Name your tag according to your Google Tag Manager naming convention, then click “Install Tag”.
Your Pinterest base code will now be installed and will track Pageviews across all pages where the Google Tag Manager container is active.
Note:
- This method applies the base code to all pages by default.
- If you require custom triggering rules, you can modify triggers directly inside Google Tag Manager.
Determine the Conversion Events to Track
Select the events aligned with your campaign objectives.
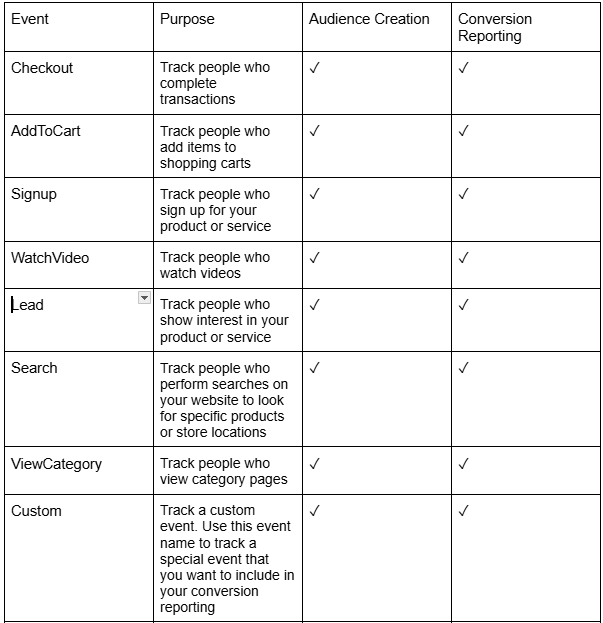
For most Australian businesses, the most relevant events are:
- Lead
- AddToCart
- Checkout
Ensure that selected events align with how you plan to optimise your campaigns inside Pinterest Ads Manager.
Setting Up Your Conversion Trigger in Google Tag Manager
Log in to: tagmanager.google.com
Select the appropriate account and container.
You must determine the action type you wish to track. This SOP covers two common tracking scenarios:
- Page View
- Button or Link Click
Tracking a Page View
Use this method if:
- A conversion redirects users to a dedicated “Thank You” page.
- You want to track visits to a high-intent page, such as a pricing or booking page.
Steps:
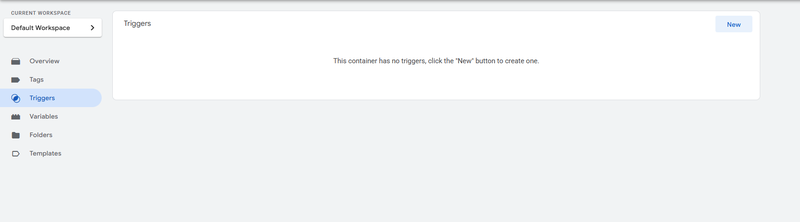
- Navigate to “Triggers”.
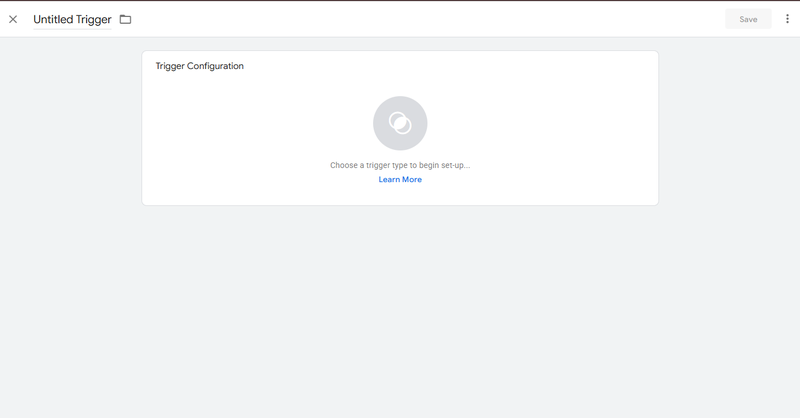
- Click “New”.
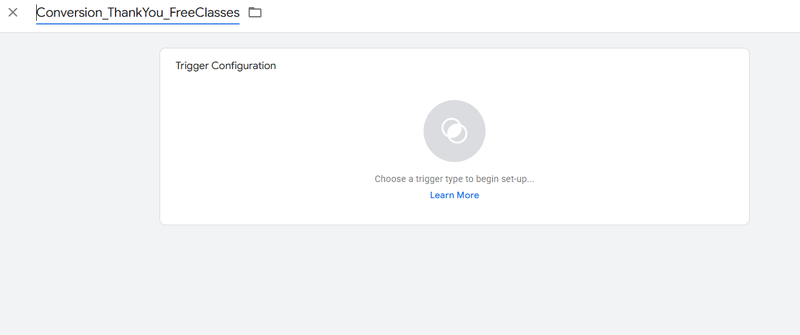
- Rename your trigger.
- Click “Choose a trigger to begin set-up”.
- Select “Page View”.
- Choose “Some Page Views”.
Naming convention recommendation:
Use descriptive naming that clearly identifies the purpose.
Example:
Conversion_ThankYou_FreeConsult_AU
Under Trigger Conditions:
- Select “Page URL”.
- Choose “matches RegEx”.
You must now create a Regular Expression (RegEx) to match your URL.
Example URL:
https://www.example.com.au/thank-you-consultation/
Step 1: Remove:
- http:// or https://
- www
- Trailing slash
Result: example.com.au/thank-you-consultation
Step 2: Add a backslash before every dot and slash:
example.com.au/thank-you-consultation
Step 3: Add this code to the end:
(?!/./)((/?)$|..=.)
Step 4: Add this code to the beginning:
(http|https)://(www.)?
Final example:
(http|https)://(www.)?example.com.au/thank-you-consultation(?!/./)((/?)$|..=.)

Insert this RegEx into the trigger field and click “Save”.
Setting Up a Click Event
Use this method if:
- There is no Thank You page.
- The conversion is based on a button click (e.g., “Add to Cart”, “Book Now”, external checkout links).
Step 1: Enable Click Variables
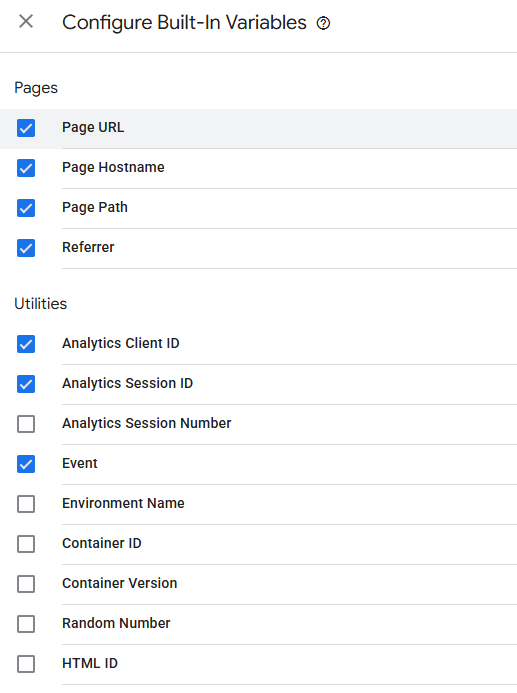
- Go to “Variables”.
- Click “Configure”.
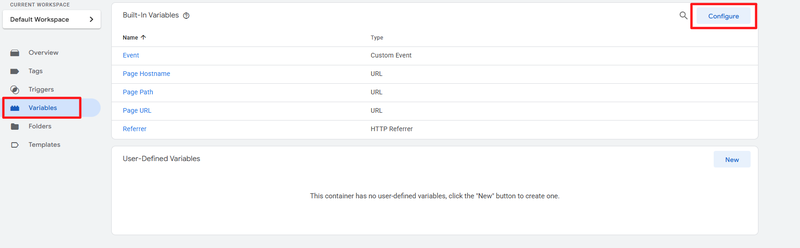
- Enable all variables under “Clicks”.
Step 2: Create a New Trigger
- Go to “Triggers”.
- Click “New”.
- Rename your trigger.
- Select “Click – All Elements”.
- Select “All Clicks”.
- Click “Save”.
Example naming convention:
Engagement_AddToCart_AU
Step 3: Use Preview Mode
- Click “Preview”.
- Enter your website URL.
- Click “Start”.
- Navigate to the page containing the button.
- Hold Ctrl (or Cmd on Mac) and click the button.
In the GTM debug panel:
- Click the new “Link Click” or “gtm.click” event.
- Select “Variables”.
Identify one of the following:
- Click ID (preferred if unique).
- Click Classes (if unique).
- Click Text (only if not used elsewhere).
Example:
Click ID equals atc_main_product
Step 4: Update Trigger Conditions
- Open the trigger created earlier.
- Under “This trigger fires on”, select “Some Clicks”.
- Apply your selected condition (e.g., Click ID equals atc_main_product).
- Click “Save”.
Set Up Your Pinterest Conversion Tag
In Google Tag Manager:
- Click “Tags”.
- Click “New”.
- Select “Tag Configuration”.
- Choose “Pinterest” as Tag Type.
Configure the following:
Tag ID
Locate this in Pinterest Ads Manager under:
Ads → Conversions → Tags
Hashed Email (Optional)
Only implement if you understand the technical requirements and have access to a hashed email variable.
Event to Fire
Select the event type chosen earlier (e.g., Lead, AddToCart, Checkout).
Additional Properties (Optional)
Depending on the event type, you may be able to configure:
- Order Value
- Currency
- Order Quantity
- Order ID
- Product ID
- Product Category
Important:
- These fields may require developer assistance.
- If values are static (e.g., a fixed $149 online course), you may manually insert static values.
- For dynamic values, developer support is typically required.
While optional, including these properties enhances reporting inside Pinterest Ads Manager.
Attach the Trigger
- Scroll to “Triggering”.
- Select the trigger created earlier.
- Click “Save”.
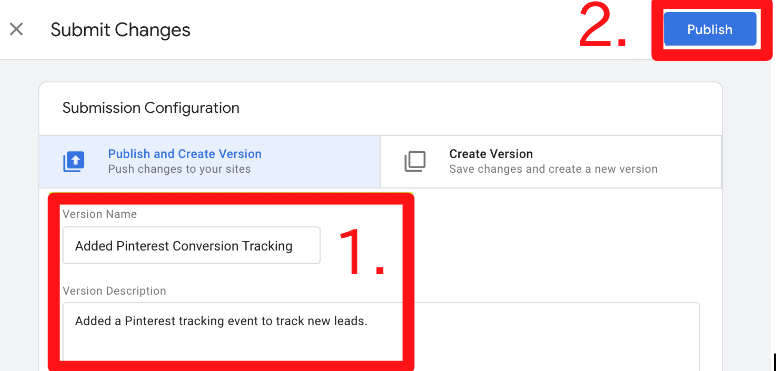
Publish Changes
- Click “Submit”.
- Add a version name and description (recommended).
- Click “Publish”.
You will see a summary of changes once published.
Verifying Your Tag and Conversion Events
Step 1: Test on Your Website
- Open your website in Google Chrome.
- Perform the conversion action.
Examples:
- Load your Thank You page.
- Submit a lead form.
- Click an Add to Cart button.
Tip: Hold Ctrl (or Cmd on Mac) when testing button clicks to remain on the same page for verification.
Step 2: Use Pinterest Tag Helper
- Click the Pinterest Tag Helper extension.
- Confirm:
- A green success message appears.
- The correct event is listed under “Events”.
Step 3: Test for False Positives
Perform unrelated actions to confirm the event does not fire incorrectly.
Examples:
- Visit unrelated pages.
- Click different buttons.
Ensure the conversion only triggers when intended.
Step 4: Confirm Data in Pinterest Ads Manager
Navigate to:
Ads → Conversions → Event History
Confirm:
- Base code activity is recorded.
- Event data appears.
- The event date matches the current date.
Once confirmed, your Pinterest conversion tracking is successfully configured and ready for campaign optimisation.