
Goal:
Optimise video content on YouTube so users can easily find your videos when searching for the type of information you provide.
Ideal Outcome:
Your YouTube videos are viewed by a large audience, increasing your business’s visibility, reach, and brand awareness.
Prerequisites or Requirements:
● A Gmail/YouTube account
● High-quality video content ready to upload to your YouTube channel
Why This Is Important:
Video content continues to grow in popularity among internet users. YouTube alone attracts over 30 million unique views every day. Capturing even a small percentage of that audience can significantly increase your brand exposure and business growth.
Where This Is Done:
Primarily on your YouTube channel.
When This Is Done:
Whenever you upload a new video.
Who Does This:
You, your Virtual Assistant (VA), your SEO specialist, or a digital marketing agency you have engaged.
Environment Setup
Set up a YouTube account.
If you want to create a personal YouTube account, follow these steps:
● Sign in to YouTube with your Gmail account.
● Upload your video by clicking the upload icon in the top-right corner of the screen.
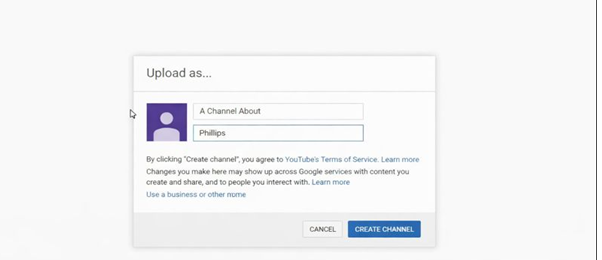
● If your YouTube channel is not yet set up, you will be prompted to complete a form to create it. For this example, a channel called “A Channel About Paints” was created.
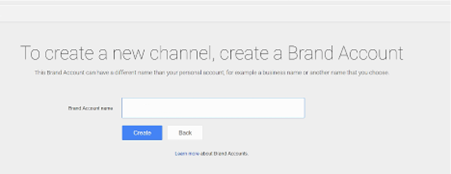
If you want to set up a separate branded business YouTube account, follow these steps:
● Create a personal YouTube channel using the steps above.
● Go to YouTube’s Channel Switcher.
● Click “Create New Channel.”
● Enter the name of your business YouTube channel.
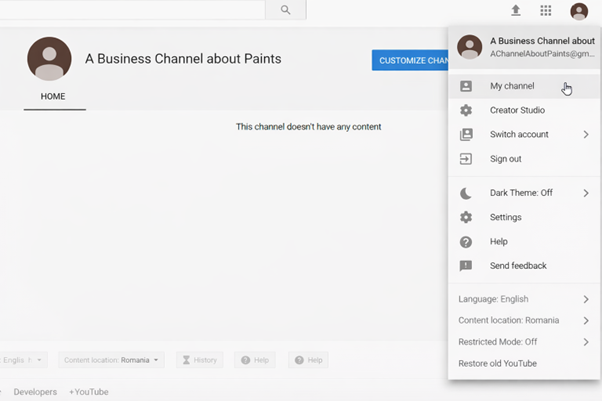
To switch between personal and business channels, click the icon in the top-right corner of the screen, select Switch Account, and choose the desired channel.
Add a Custom Welcome Video to Your Channel
● Go to the YouTube homepage.
● Click your avatar in the top-right corner.
● Click My Channel.
● Click Customize Channel.
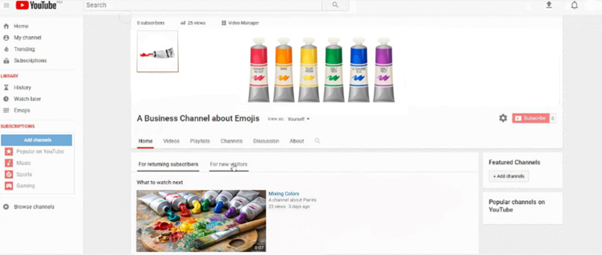
● Select For new visitors.
● Click + Channel trailer.
● Choose the video you want to use as your welcome video.
To add an avatar, click the pencil icon next to the avatar image. You will be redirected to your Branded Account page, where you can upload a profile image. Note that it may take a few minutes for the avatar to synchronise across platforms.
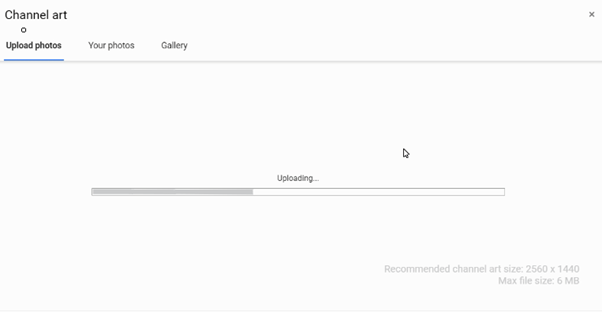
To add a custom channel header, click Add channel art and upload an image that is at least 2048 × 1152 pixels. YouTube will show previews for different devices. You may adjust the image positioning if needed.
Good visual design is important. Tools such as Canva provide easy-to-use templates and affordable design options, including layouts specifically designed for YouTube channel art.
Produce Quality Videos
The first step in optimising YouTube videos is ensuring the content itself is high quality. To maximise results, your videos should meet the following criteria:
● Begin by performing keyword research. Follow the steps in SOP 011 (Web version). For YouTube, tools such as YT Cockpit or Keyword Tool are recommended over KWFinder.
● Aim to create longer videos, as longer content is more likely to rank higher in YouTube search results.
● Mention your target keyword verbally in the video. YouTube’s automated captions and crawler can identify whether a video genuinely matches its title.
● Encourage viewers to subscribe, comment, and like the video. This significantly improves engagement.
● Reduce bounce rate by keeping videos dynamic. Use transitions, visual changes, and engaging graphics to maintain viewer interest.
● Clearly explain the value of the video within the first 10 seconds to encourage viewers to keep watching.
Monetise Your Channel
Although the primary goal of this SOP is video optimisation, monetisation is relevant because it enables features such as custom thumbnails.
At this stage, monetisation is used primarily to unlock features rather than generate ad revenue. In most cases, business channels should keep videos demonetised to maintain credibility.
To enable monetisation:
● Go to YouTube Homepage → Settings → View additional features → Monetisation.
● Select your channel’s country location if prompted.
● Enable monetisation by completing the following steps:
- Join the YouTube Partner Program
- Sign up for AdSense
- Set monetisation preferences
- Complete the review process after reaching the required view thresholds
To manually demonetise videos:
● Go to Creator Studio → Video Manager.
● Select the videos.
● Click Actions → Demonetise.
Note that monetisation requires 1,000 subscribers and 4,000 public watch hours. Reaching this milestone unlocks valuable optimisation features.
Optimise for YouTube’s Ranking Signals
YouTube’s primary ranking signal is watch time, but several other elements influence visibility.
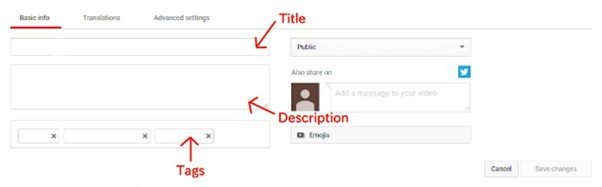
Optimise Your Video Title
Include your target keyword in the title while keeping it relevant and accurate. Misleading titles can negatively impact rankings.
Optimise Your Video Description
Write a compelling description of at least 250 words and include your keyword naturally.
Optimise Video Tags
Use 2–3 relevant keyword tags. Add them during upload by entering keywords separated by commas.
Include an Attractive Custom Thumbnail
Custom thumbnails significantly increase click-through rates. Once monetisation is enabled, upload a custom thumbnail via Creator Studio → Video Manager → Edit → Custom thumbnail.
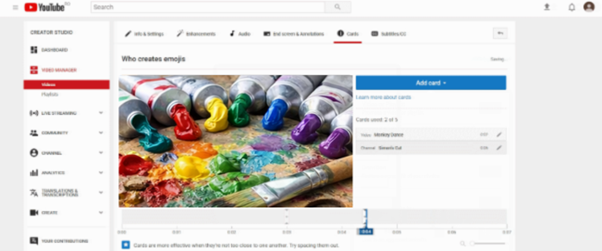
Increase Watch Time With Cards
YouTube cards add interactivity and encourage longer viewing sessions. Available card types include Video or Playlist, Channel, Donation, Poll, and Link.
To add cards:
● Go to Creator Studio → Video Manager.
● Select Edit → Cards.
● Click Add Card and follow the prompts.
● Adjust the timing so cards appear at optimal moments.
Upload a Video Transcript
Although optional, transcripts improve accessibility and help YouTube and Google better understand your video content.
To add a transcript:
● Go to Video Manager → Edit → Subtitles/CC.
● Choose your language.
● Upload a transcript file, auto-sync text, or manually create subtitles.
● Publish the captions.
Add Video to a Playlist
Playlists increase watch time by automatically playing the next video.
To add a video to a playlist:
● Go to Video Manager.
● Select the video.
● Click Add to → Create new playlist.
● Name and save the playlist.
What to Do After Publishing
After publishing your video:
● Respond to comments within the first 48 hours. Enable notifications under Settings → Notifications.
● Embed the video in blog posts and guest posts.
Promote the video on social media, email, and relevant platforms such as Quora.
● Be consistent. Publishing regularly over time is more effective than posting many videos at once.
YouTube may be unfamiliar territory for some, but video marketing is no longer optional. Optimising and consistently publishing valuable video content is essential for maximising the benefits of modern digital marketing.