
Goal: To define simple, repeatable steps to verify that new email campaigns are sent without obvious errors, display correctly, and contain no broken links.
Ideal Outcome: 99% of email campaigns are sent without any noticeable errors.
Prerequisites or requirements:
You should have access to your email service provider and a Gmail or Google Workspace email account to send test emails.
Why this is important: Email mistakes cannot be undone once a campaign has been sent. Fixing errors usually requires sending a follow-up email, which can reduce the effectiveness of the campaign and potentially increase unsubscribe rates.
Where this is done: In your email service provider, Grammarly, and your email inbox (on both desktop and mobile).
When this is done: Every time you prepare a new email campaign (either batch or automated) after the final copy has been written.
Who does this: The person responsible for email marketing within the organisation.
Before Starting: Install Required Extensions and Apps
Install the following tools:
- Grammarly (the free version is sufficient)
- Check My Links Chrome extension
- Gmail mobile app from the Android Play Store or Apple App Store
These tools help quickly detect common issues before sending a campaign.
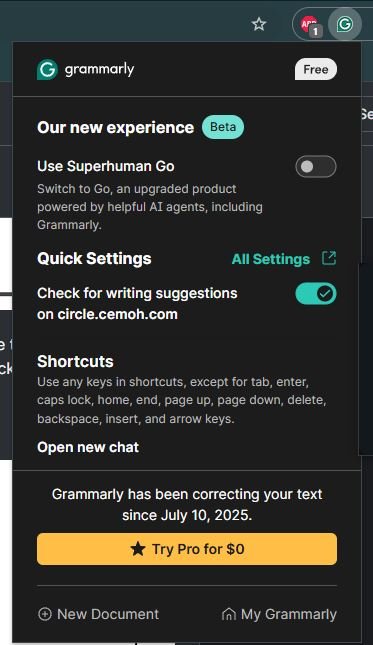
Step 1: Check Grammar and Spelling Using Grammarly
Open the email compose window in your email service provider.
Check whether Grammarly loads within the editor. You should see a Grammarly icon in the bottom-right corner of the text field.

If Grammarly does not work inside the editor:
- Copy the email content.
- Open a new Grammarly document using the Chrome extension.
- Paste the text into the document.
Review all highlighted suggestions.
- Accept or ignore Grammarly recommendations.
- Continue until the Grammarly icon turns green, indicating no remaining issues.
Step 2: Send a Test Email
From your email service provider:
- Send a test email to your own Gmail or Google Workspace inbox.
Open the test email in Gmail’s web interface.
Step 3: Check Subject Line and Preview Text
With your browser in full-screen mode, review the following:
Subject line:
- Ensure it is not truncated in the inbox view.
Preview text:
- Confirm that the preview text does not display image file names.
- This issue may occur if an image appears before any written text in the email header.
Step 4: Review the Email Layout
Open the email and check the following elements:
- Text alignment matches the design in the email editor.
- Font family, style, size, and colour are correct.
- Images load properly.
- Images have the correct dimensions and aspect ratio.
Step 5: Check for Broken Links
Use the Check My Links Chrome extension.
Steps:
- Click the extension icon.
- Wait until the scanning queue finishes.

Interpret the results:
- If Invalid links = 0, no broken links exist.
- If broken links are found, they will appear highlighted in red.
If broken links are detected:
- Return to the email editor.
- Correct the faulty URLs.
- Send another test email and repeat the check.
Step 6: Manually Verify Each Link
Click each link within the email to confirm:
- The link opens successfully.
- The destination page is correct.
- The URL matches the intended landing page.
Step 7: Perform a Mobile Check
Open the same test email using the Gmail mobile app.
Review the following elements:
- Alignment matches the email editor.
- Fonts display correctly.
- Text size is readable without zooming.
- Text blocks fit within the mobile screen width.
- Images load properly.
- Images resize correctly for mobile screens.
If images contain text:
- Ensure the text is large enough to read on mobile devices without zooming.
Final Check
If all checks pass on both desktop and mobile, the email campaign is ready to send.
This quick verification process typically takes under 10 minutes but helps prevent the most common email marketing errors.